Do you need help getting a WiFi signal in your yard?
Imagine an early autumn evening when you and your partner are watching a movie in the
yard, but the film won't load because of the weak WiFi signal. What a headache! It's
time to use an
outdoor WiFi extender to
extend
your WiFi outdoors.
An outdoor WiFi extender is a device that makes
your WiFi signal reach farther so it can be used outside. But how do you install it?
Let's look at this article for a comprehensive guide to installing an outdoor WiFi extender.
What to Prepare Before
Installing an Outdoor WiFi Extender?
Before installing an outdoor WiFi extender, it pays to plan. Then you can get the best
possible signal strength and coverage to extend your WiFi outdoors. Here are a few
things you need to do:
Plan the Best Location and Range of Your Extender
Most important, consider the best location and range for your specific needs. Keep in
mind that the further the extender is from the router, the weaker the signal will be.
However, placing the extender too close to the router can cause interference. Most of
the time, the best spot is about halfway between the router and a spot with bad
coverage.
As for range, most outdoor WiFi extenders have a range of around 200 feet, and you can
measure whether this meets your expectations. But the range can vary depending on the
model and the specific environment. For example, you can change a model with a higher
range if you need more extensive coverage.
Not only range and location to consider, but potential interference with the extender
also needs to be checked.
Check for Potential Interference with Your Extender
You must be wondering what would interfere with outdoor WiFi extenders'
performance.
In general, there are two types: radio frequency interference and environmental
interference.
Radio Frequency (RF) interference can come from other
WiFi devices, including cordless
phones, Bluetooth devices, microwaves, and even your neighbor's WiFi network. If you
have any of these devices near your extender, they may cause interference.
The environmental interference is usually the trees and buildings in the yard. If you
have a lot of trees or buildings around the house, they may block your WiFi signal. If
you're unsure whether there will be potential interference, it's best to consult a
professional. They can help you to find out the environmental interference and determine
whether an outdoor WiFi extender is a right solution for your needs.
To reduce these interferences, you should move other WiFi devices away from your
extender or turn them off when you're not using them. And it would be best to plan the
extender's location where trees or buildings won't block them.
Quick and Easy Steps
for Outdoor WiFi Extender Installation
Everything is ready, and we have come to our most exciting part - starting the
installation. The process is not as difficult as you think; just follow the steps below:
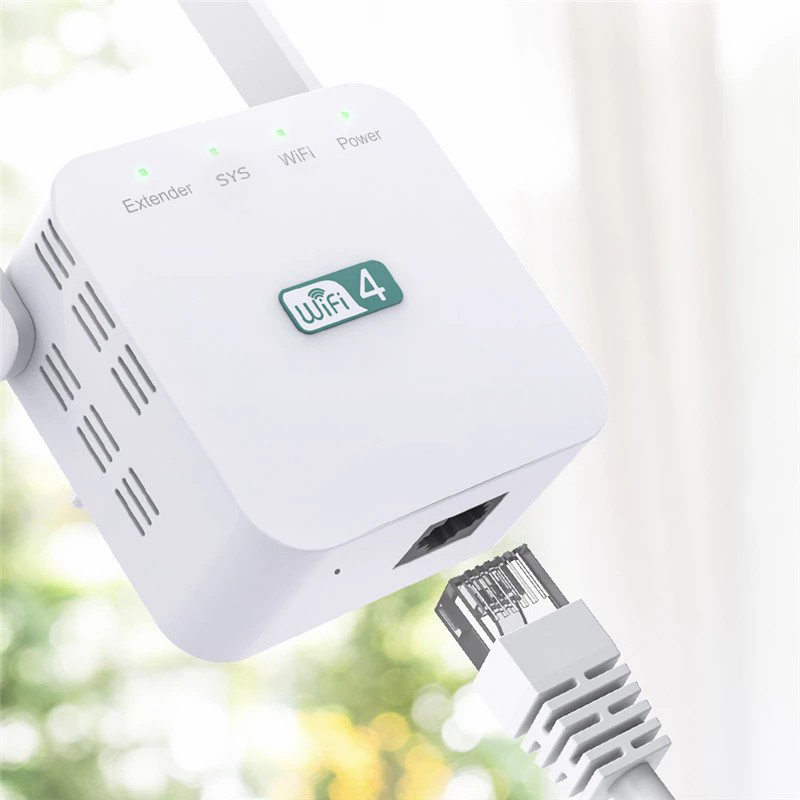
1. Prepare materials. It includes extenders,
antennas, wires, plugs, etc.
2. Connect the extender to a power source. Plug
the extender into an outlet inside your home or office to avoid fewer walls and
obstacles.
3. Configure the WiFi extender. Enter your WiFi
network's SSID and password, and choose which band (2.4 GHz or 5 GHz) to extend.
4. Test the signal. Try connecting to the WiFi
from different locations outside your home or office to see if the signal is strong
enough.
After following these steps, you will be able to enjoy a good WiFi signal in your yard!
How to Troubleshoot an Outdoor WiFi
Extender?
Although the outdoor WiFi extender is a practical device, as an electronic product,
failures are unavoidable. So how to troubleshoot an outdoor WiFi extender? Let's move
on.
Here are 3 easy troubleshooting methods we've tried:
1. Check to ensure that the extender is properly plugged in and receiving power. Next,
check the Ethernet cable connecting the extender to your router. If this cable is loose
or damaged, it could be causing connection issues.
2. Try resetting it. To do this, unplug the power cord, wait a few seconds, and then
plug it back in, and it should reset the extender and hopefully fix the issue.
3. Update the firmware. If you are still having trouble, you may need to update the
firmware on your extender. Firmware updates are usually available on the manufacturer's
website.
If you are still experiencing issues, it is best to contact the manufacturer of your
extender for further troubleshooting tips.
Summary
After reading this article, you should comprehensively understand the preparations,
installation steps, and troubleshooting for installing an outdoor WiFi extender. It's
really not that hard to extend your WiFi outdoors, so don't wait – get set up today and
enjoy the benefits of a strong, reliable WiFi signal no matter where you are.