It's a familiar scenario for many of us: You're sitting at your desk trying to get some work done, but your internet connection starts lagging. You check your
WiFi signal strength, and it's weak-too weak.The crash hit you, right? Wait a moment...A WiFi extender with an Ethernet port can solve your problem.By setting up this device, you can
boost your WiFi signal and make sure your internet connection is strong and reliable. But you don't know where to start, and that's okay!
In this article, we'll show you how to set up a
WiFi extender with an Ethernet port so you can get back to work (or watch your favorite show) without interruptions. Ready for the good stuff? Continue reading...
What is an Ethernet Port?
Do you know what an Ethernet port is?
An Ethernet port is like your computer's highway entrance, allowing it to join the high-speed traffic of the Internet. Just like a driver needs an on-ramp to access a highway, your computer needs an Ethernet port to access the internet.
Once connected, you're free to explore the vast online world, accessing information, media, and more with just a click of the mouse.
But wait, there's more!
The benefits of using a WiFi extender with an Ethernet port don't stop there. Keep scrolling to discover more benefits.
Why Should You Use WiFi Extender with Ethernet Port?
The first thing you think of must be that it can provide very fast speed.
Bingo!
SmallNetBuilder found that WiFi extenders with an Ethernet port had an average speed of 81.6 Mbps, compared to 53.2 Mbps without an Ethernet port.
This information shows that a WiFi extender with an Ethernet port can offer faster speeds than one without an Ethernet port.
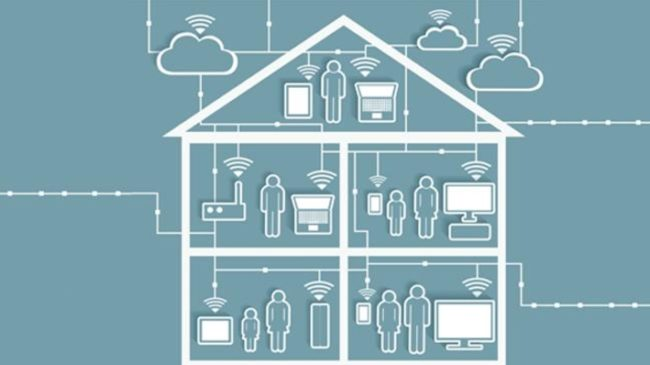
Also, 72 percent of the people who took the survey by the WiFi Alliance said they had problems with WiFi coverage at home. These problems can be solved by using a WiFi extender with an Ethernet connector.
There are more!
Fifty-seven percent of respondents said multiple devices competing for bandwidth on a WiFi network was a problem. Using a WiFi extender with an Ethernet connector can fix common WiFi connection problems by giving multiple devices faster speeds, better coverage, and a more stable connection.
So, what's the conclusion?
Overall, a WiFi extender with an Ethernet port can help users improve their home or office network's WiFi range, speed, and connectivity.
Seeing this, can't you wait to join those who are saying goodbye to spotty WiFi signals and hello to WiFi extenders with Ethernet ports?
Let's cut to the chase: How to set up a WiFi extender with an Ethernet port?
How to Set Up a WiFi Extender with Ethernet Port?
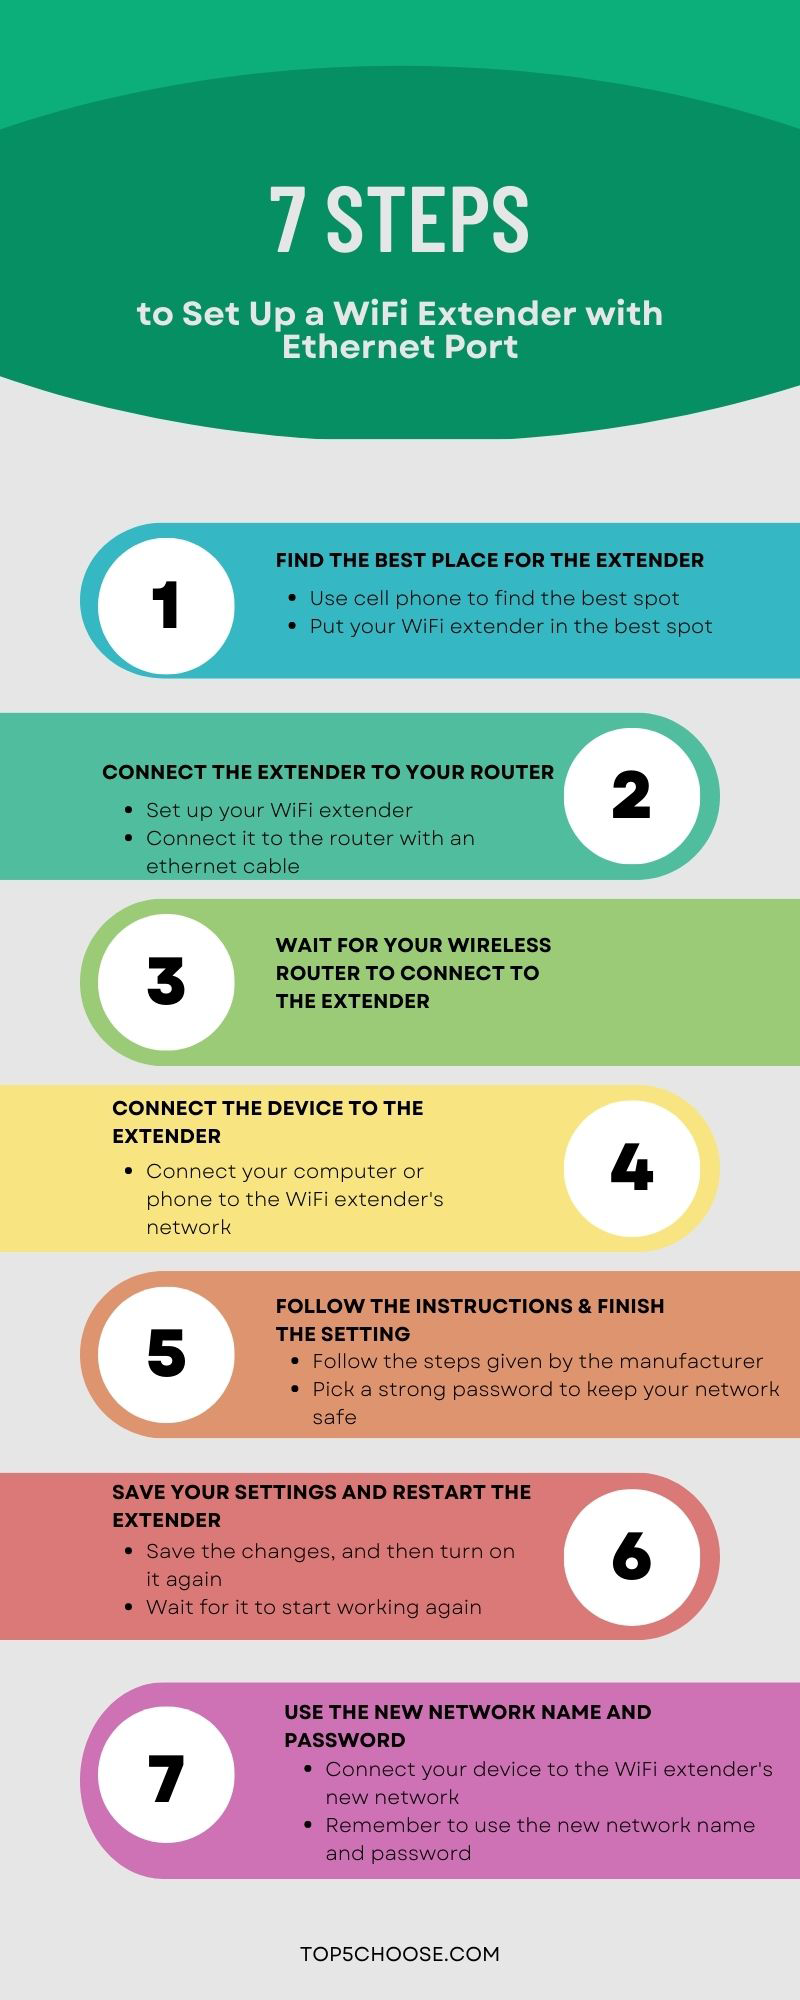
Setting up a WiFi extender with an Ethernet port is typically a straightforward process that involves a few simple steps:
Step 1: Find the best place for the extender
Are you ready to get rid of slow internet?
①Please use your cell phone to find the spot with the best signal before you set up the extender.
②Put your WiFi extender in a place where it can get a strong signal from your router without being too close to it.
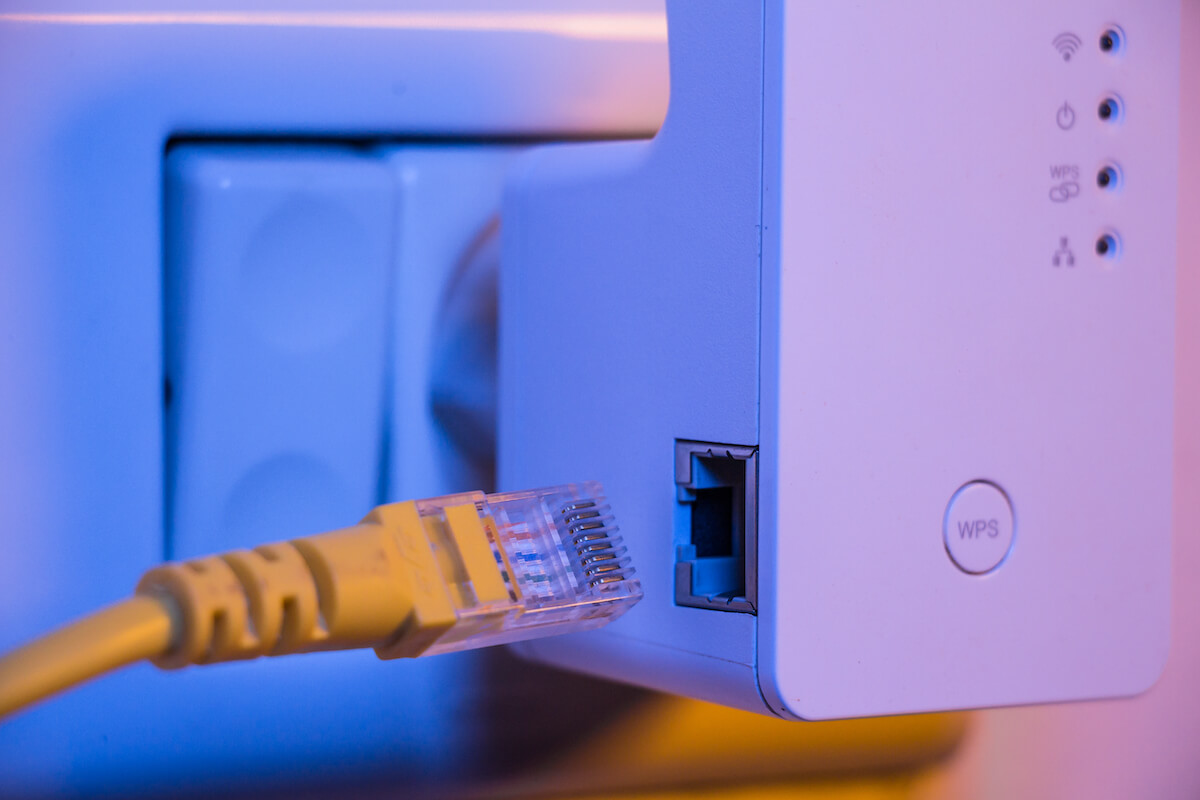
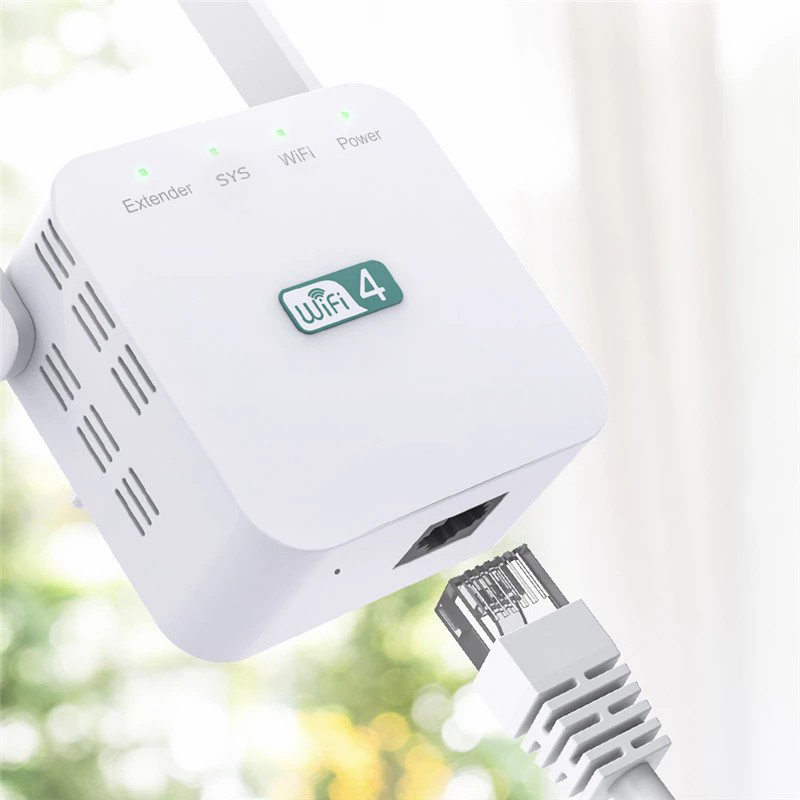
Step 2: Plug in the extender and connect it to the router with an Ethernet cable
Prepare to strengthen your WiFi signal! You no longer have to worry about slow internet speed.
①Plug the extender into the outlet and turn on the power.
②Set it up after it is turned on.
③Use an Ethernet cable to connect the WiFi extender to the router.
Step 3: Wait for your wireless router to connect to the extender
The key is to wait! This could take some time.
Wait until your router and WiFi extender can connect.
Step 4: Connect the device to the extender
①Connect your computer or phone to the WiFi extender's new network.
②Open a web browser and type in the WiFi extender's IP address to get to its settings page.
Step 5: Follow the instructions from the manufacturer
If you want to stay safe online, this step is important.
①To get to the setting page, follow the steps given by the manufacturer.
②Change the way the WiFi extender is set up.
③Pick a strong password to keep your network safe.
Step 6: Save your changes and restart the extender
①Save the changes, and then turn on the WiFi extender again.
②Wait for it to start working again.
Step 7: Use the new network name and password
Prepare to surf the Internet like you've never done it before.
①Connect your device to the WiFi extender's new network.
②To connect, use the new network name and password.
All done! Now you can enjoy a fast and stable network environment.
Conclusion
In short, setting up a WiFi extender with an Ethernet port will not only make your WiFi signal stronger and increase the range of your network, but it will also provide a wired connection for devices that need it. With the simple steps above, you can set up your WiFi extender in no time and enjoy a stronger, more reliable network. Give it a try and see how powerful a WiFi extender with an Ethernet port is!